Subaru Brake Repair
Jun 4, 2014 • Rentaro
With my wallet drying up between school and my first full-time job, I now "fix" my 2005 Subaru Impreza myself. My most recent car woe, brake rotor (the brake disk) warping, causes the car to rumble when braking and also makes passangers like my girlfriend nervous. This poses a danger as it makes braking more difficult. To fix this issue I ordered front brake rotors Power Stop KOE1124 on amazon, which also came with break pads.
Day 1: Front Brake Repair
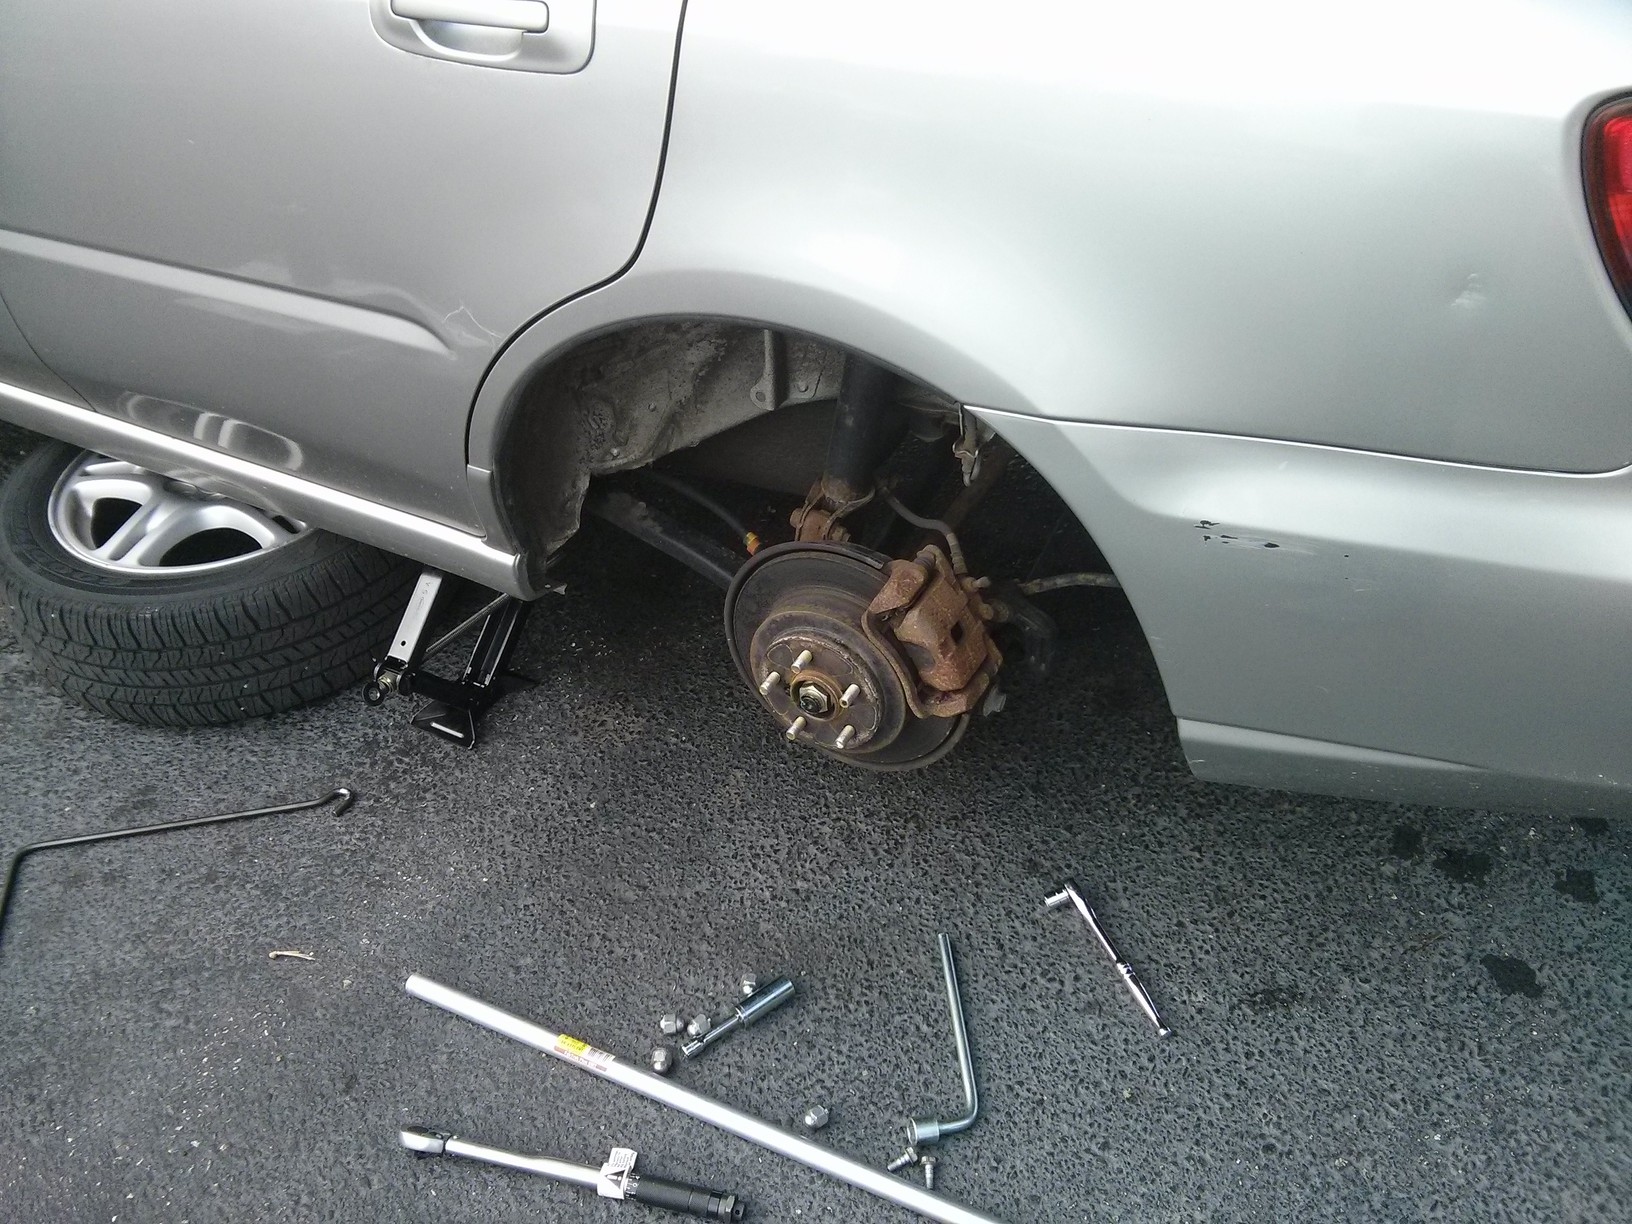
New pads and rotors in hand I set out to fix my front brakes. I jacked up the car with the jack that came with the car and attempted to remove the tire. I had no luck loosening the lug nuts. The internet told me that all I need is a metal pipe to extend my lever arm, so I got a 6 foot long steel conduit from Home Depot to help remove the tires.
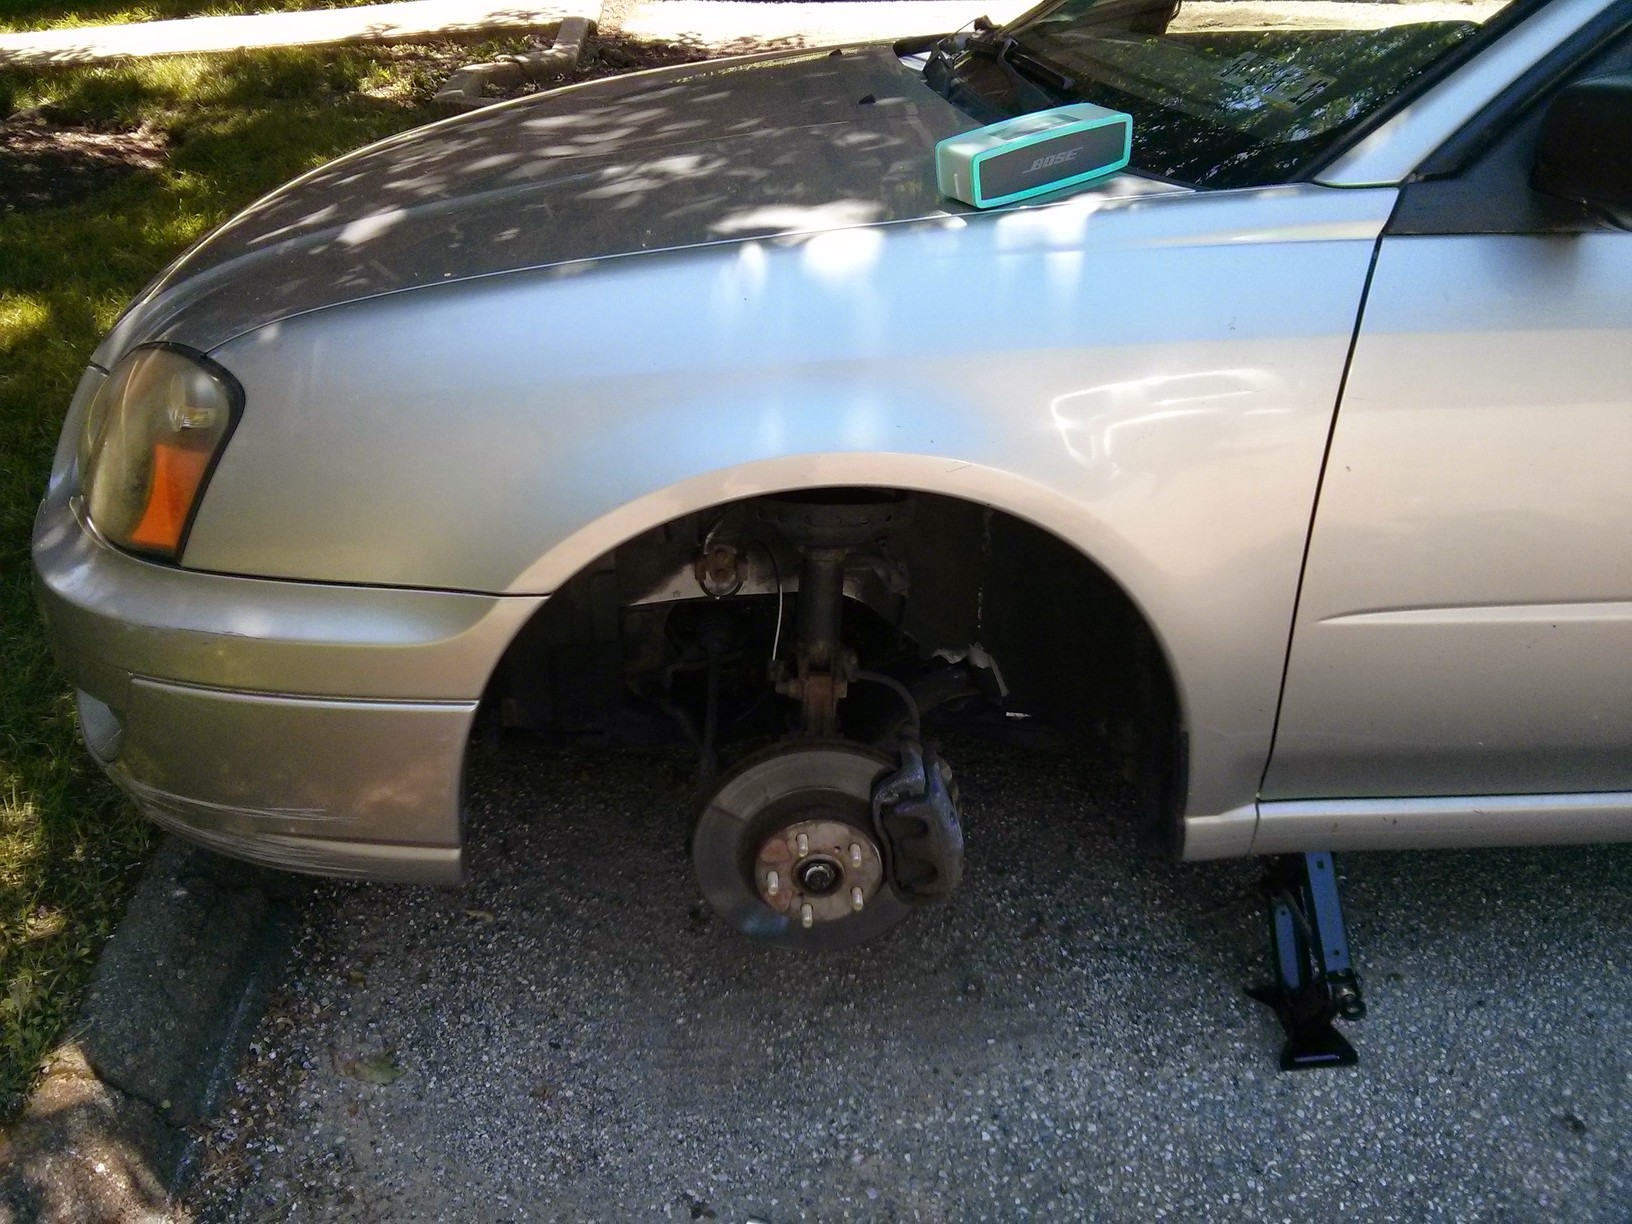 I made the fatal mistake of not preventing the car from rolling so at some point after removing the tires, the car rolled forward off the jack and crashed into the ground; good thing I wasn't working under it... Having learned my lesson I wedged the removed tire under the car. I then figured out which screws to loosen and removed the brake.
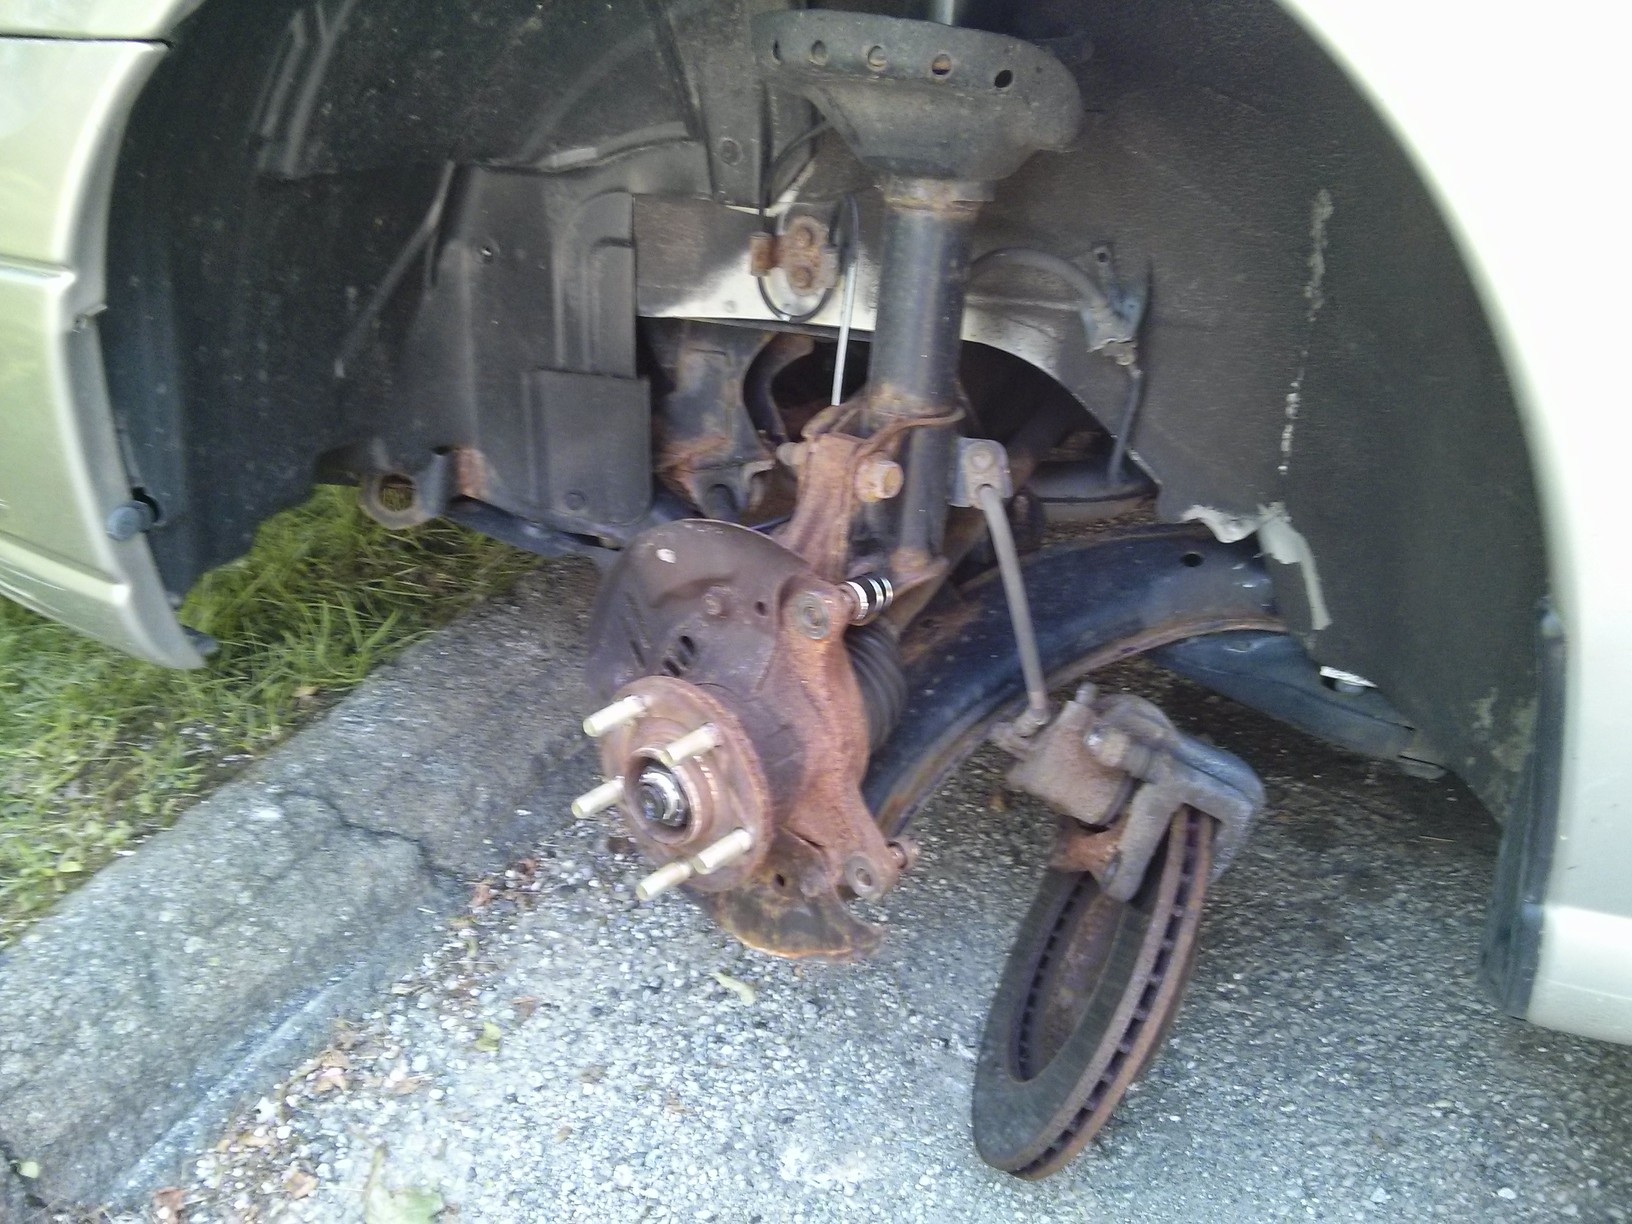
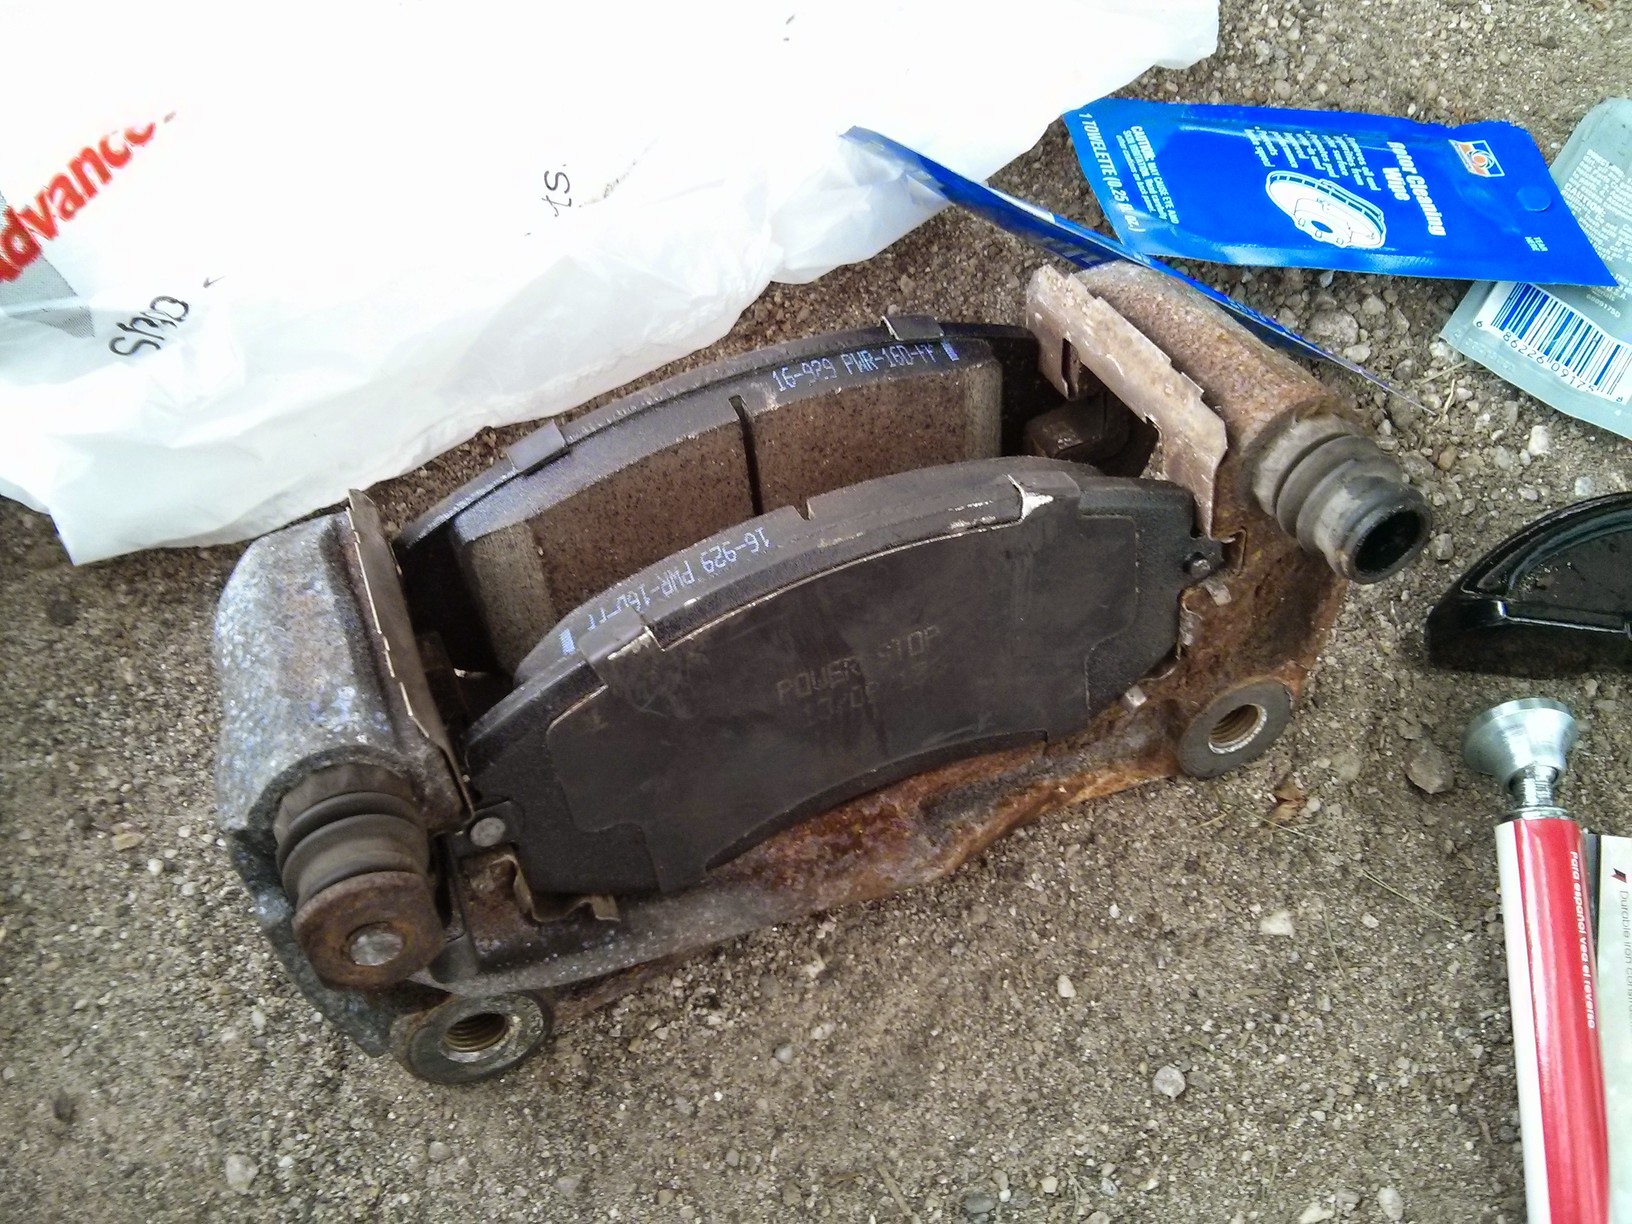
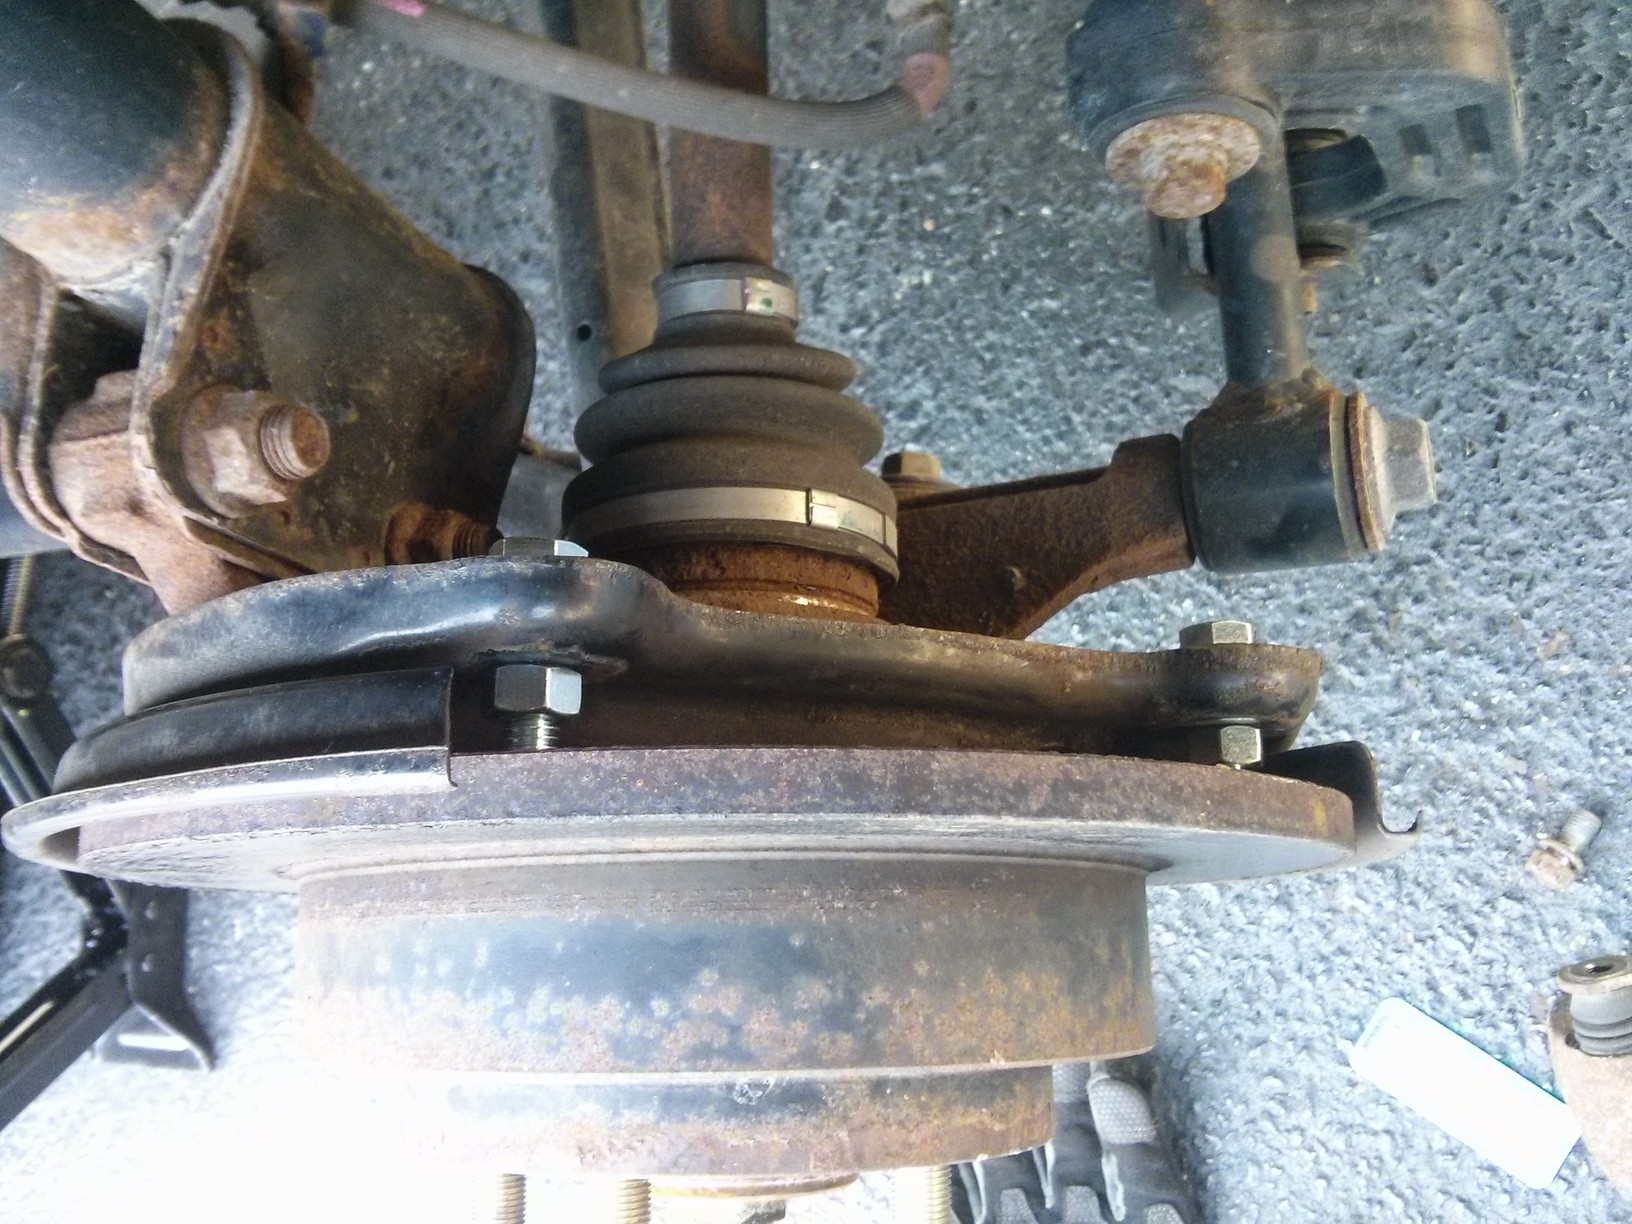
I later found out that I should not have dangled the brake like I did. Instead I should have propped them up with something that can support its weight. If the brake line bursted, I would have had a whole other fix to make. Anyhow, once the brakes were removed I disassembled the bracket, caliper and rotor, which actually should have been done before removing the rotor from the axle. Finally, I installed new pads and rotor, completing the first brake.
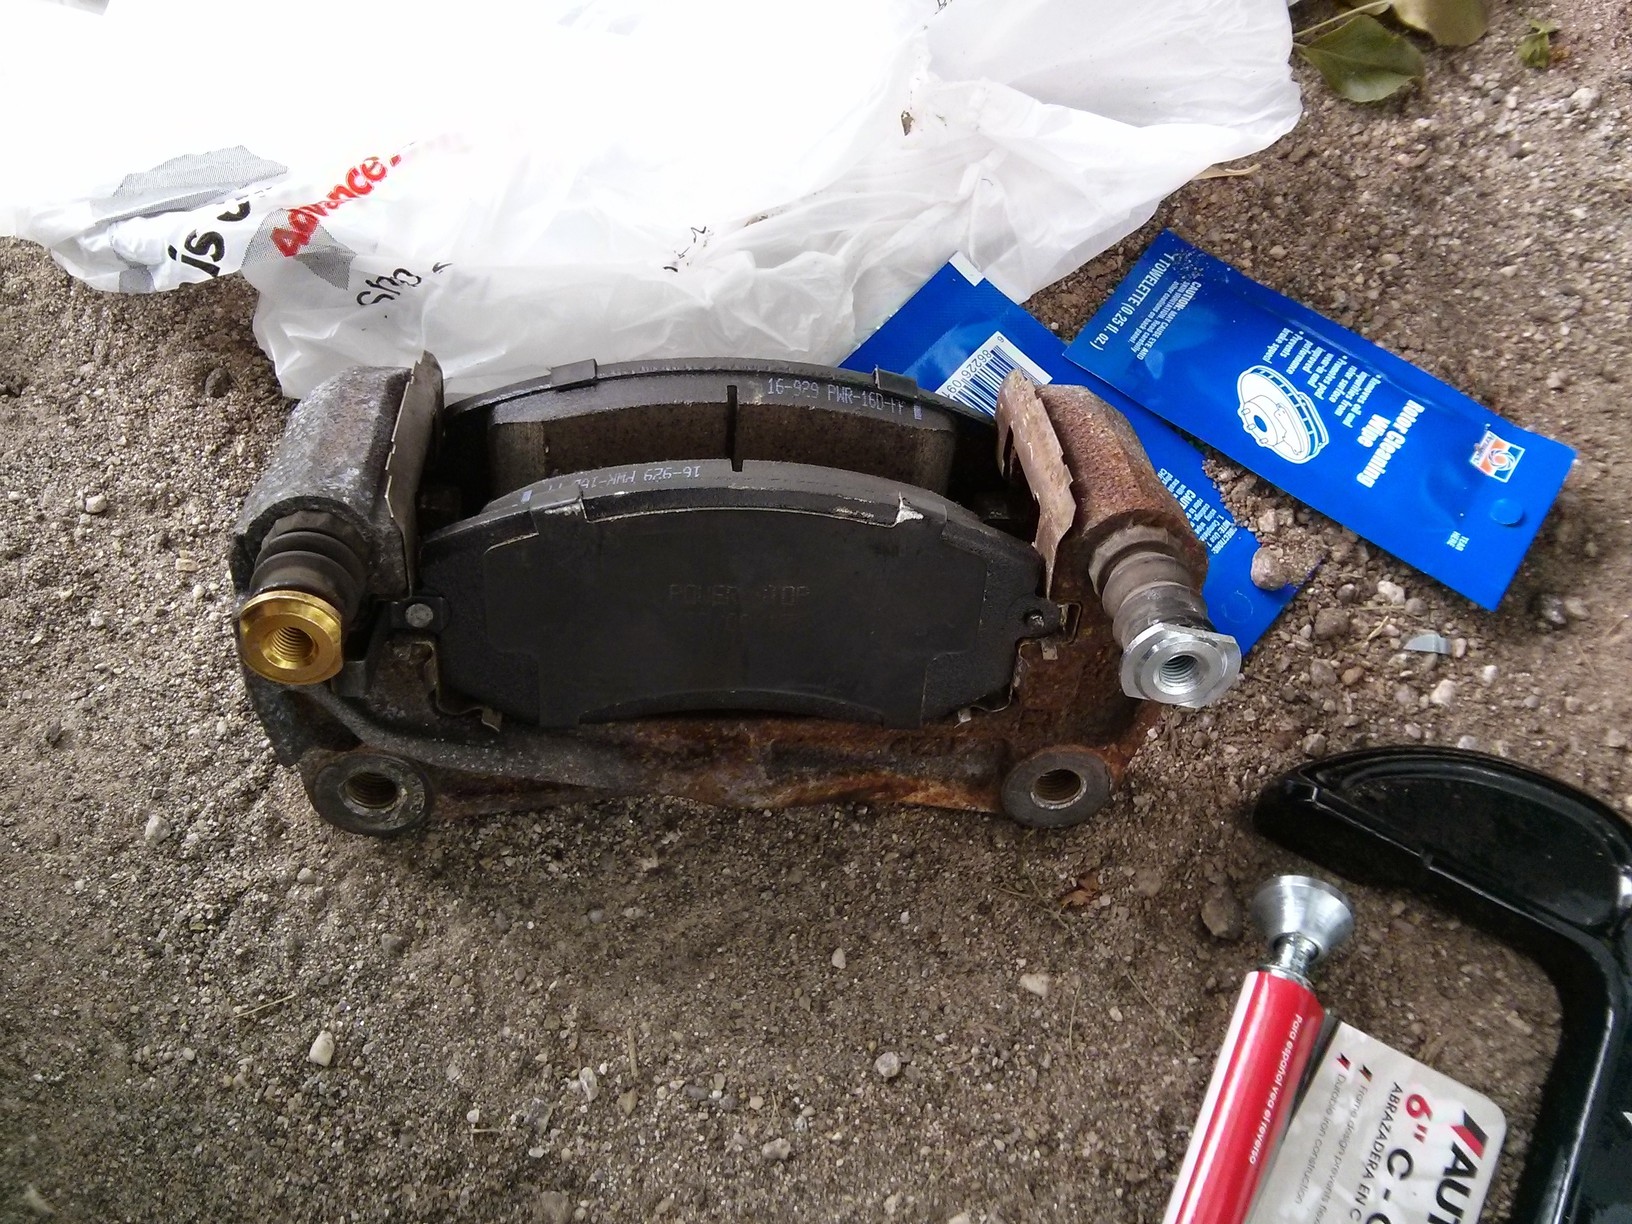
I then moved on to replacing the second brake, during which I sheared the screw in the caliper guide pins. Whoever tightened last must have tightened them really hard. I skateboarded to Advanced Auto Parts and ordered the parts, but was told that it'll take a day to get them. You can see the broken screw stuck in the bracket.
The friendly people at Advanced Auto Parts also gave some tips essential to the brake repair. One tip was that the oily coating on the rotors that prevent rusting must be cleaned off prior to installation. Another was that I should use a c-clamp to push in the brake pistons so that the new pads and rotors can fit. This unfotunately meant that I would have to redo the first brake.
Day 2: Front Brake Repair Continued
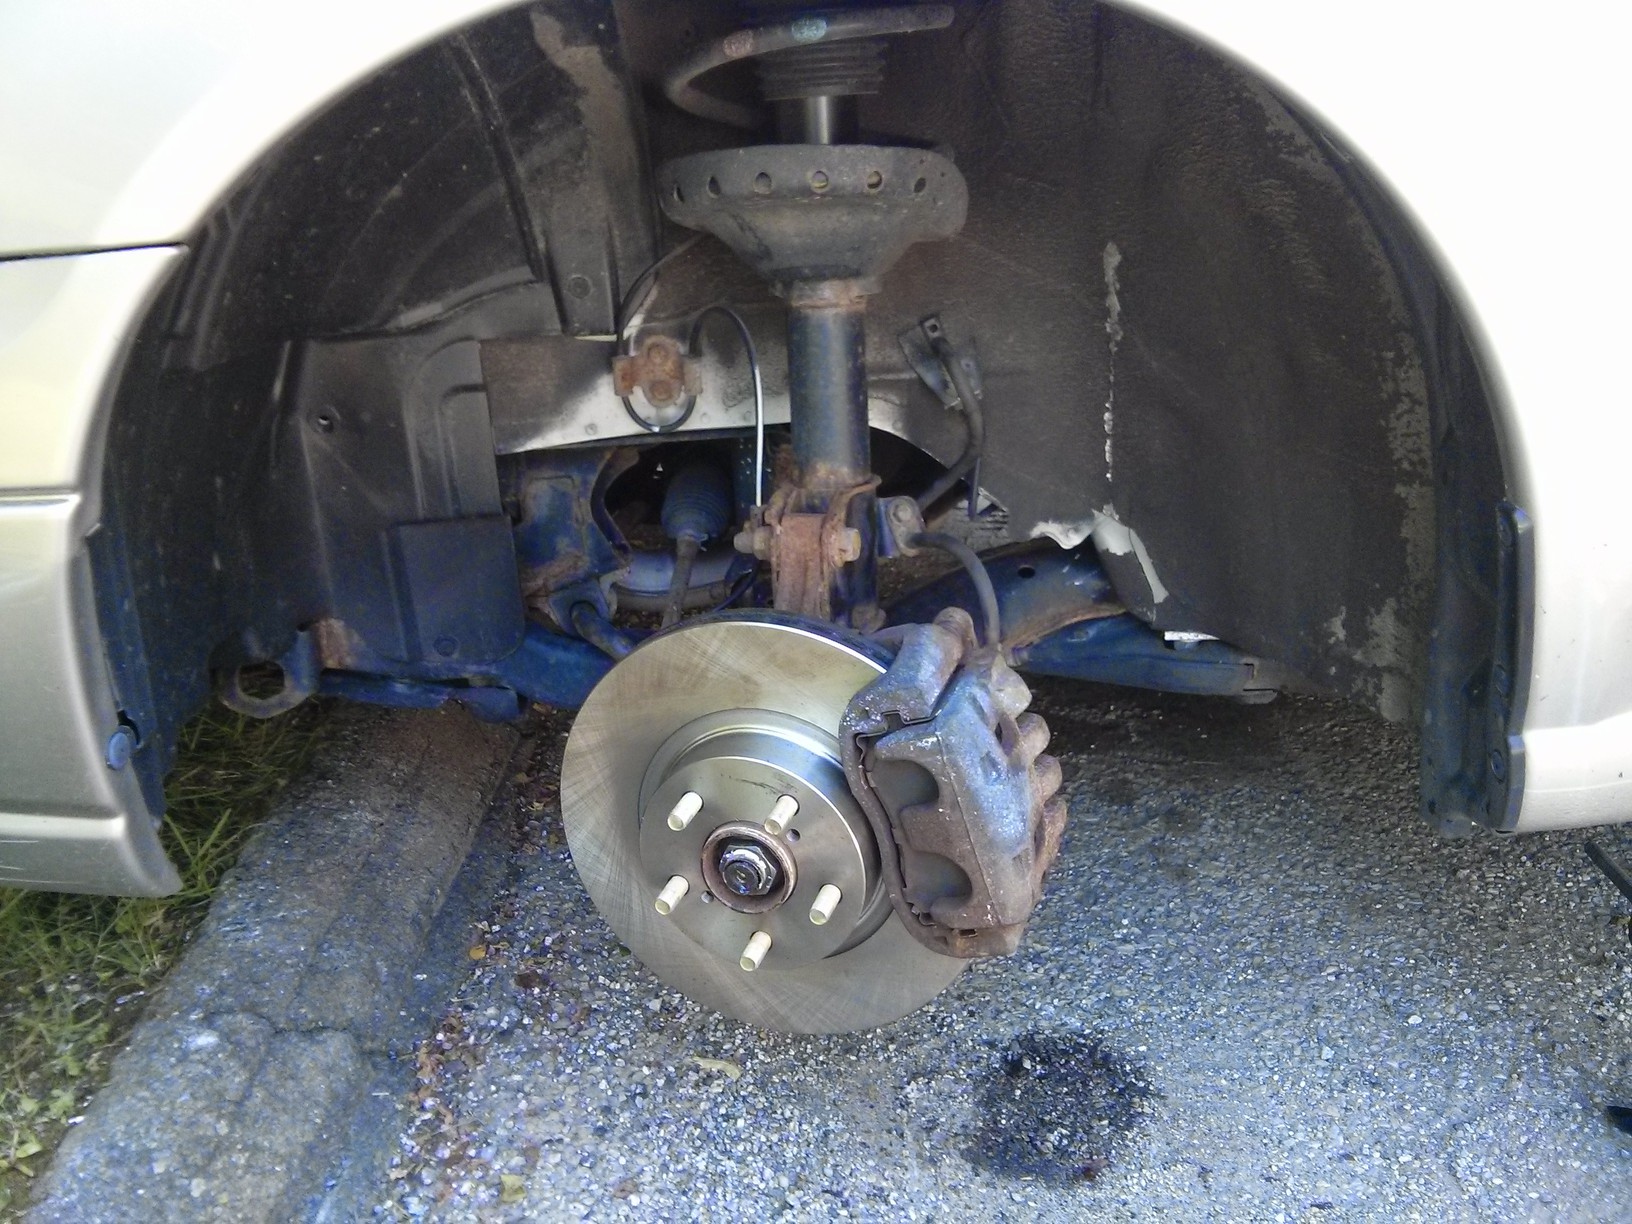
The next day I skateboarded again to Advanced Auto Parts and picked up the caliper guide pins and screws I ordered. I lubricated and installed the new caliper guide pins, placed the new pads, used the c-clamp and old pads to widen the caliper, and put it all together completing the second brake. I didn't forget to clean off that oily coating on new rotors with rotor cleaning wipes I also picked up at the store.
Done with replacing my front brakes I test drove the car in excitement. D'oh! The rear brake rotors are warped too. I can tell it's the rear brakes because the car doesn't rattle when I brake hard; during hard stops you rely mostly on front brakes. Luckily advanced auto parts has the right rear brake rotors in stock. However, it's already very late and so fixing the rear end will have to wait till tomorrow.
Day 3: Rear Brake Repair
The next morning I drove to Advanced Auto Parts with my car still rumbling and squeaking with every turn of the wheel. I bought a set of new rear rotors and set out to replace the old ones.
Already having disassembled two brakes I expected the third to go smoothly. It turned out that the rear rotors were so rusted that they wouldn't come off the axle. Consulting the internet again I learned that I can use nuts and bolts to push out stuck rotors.
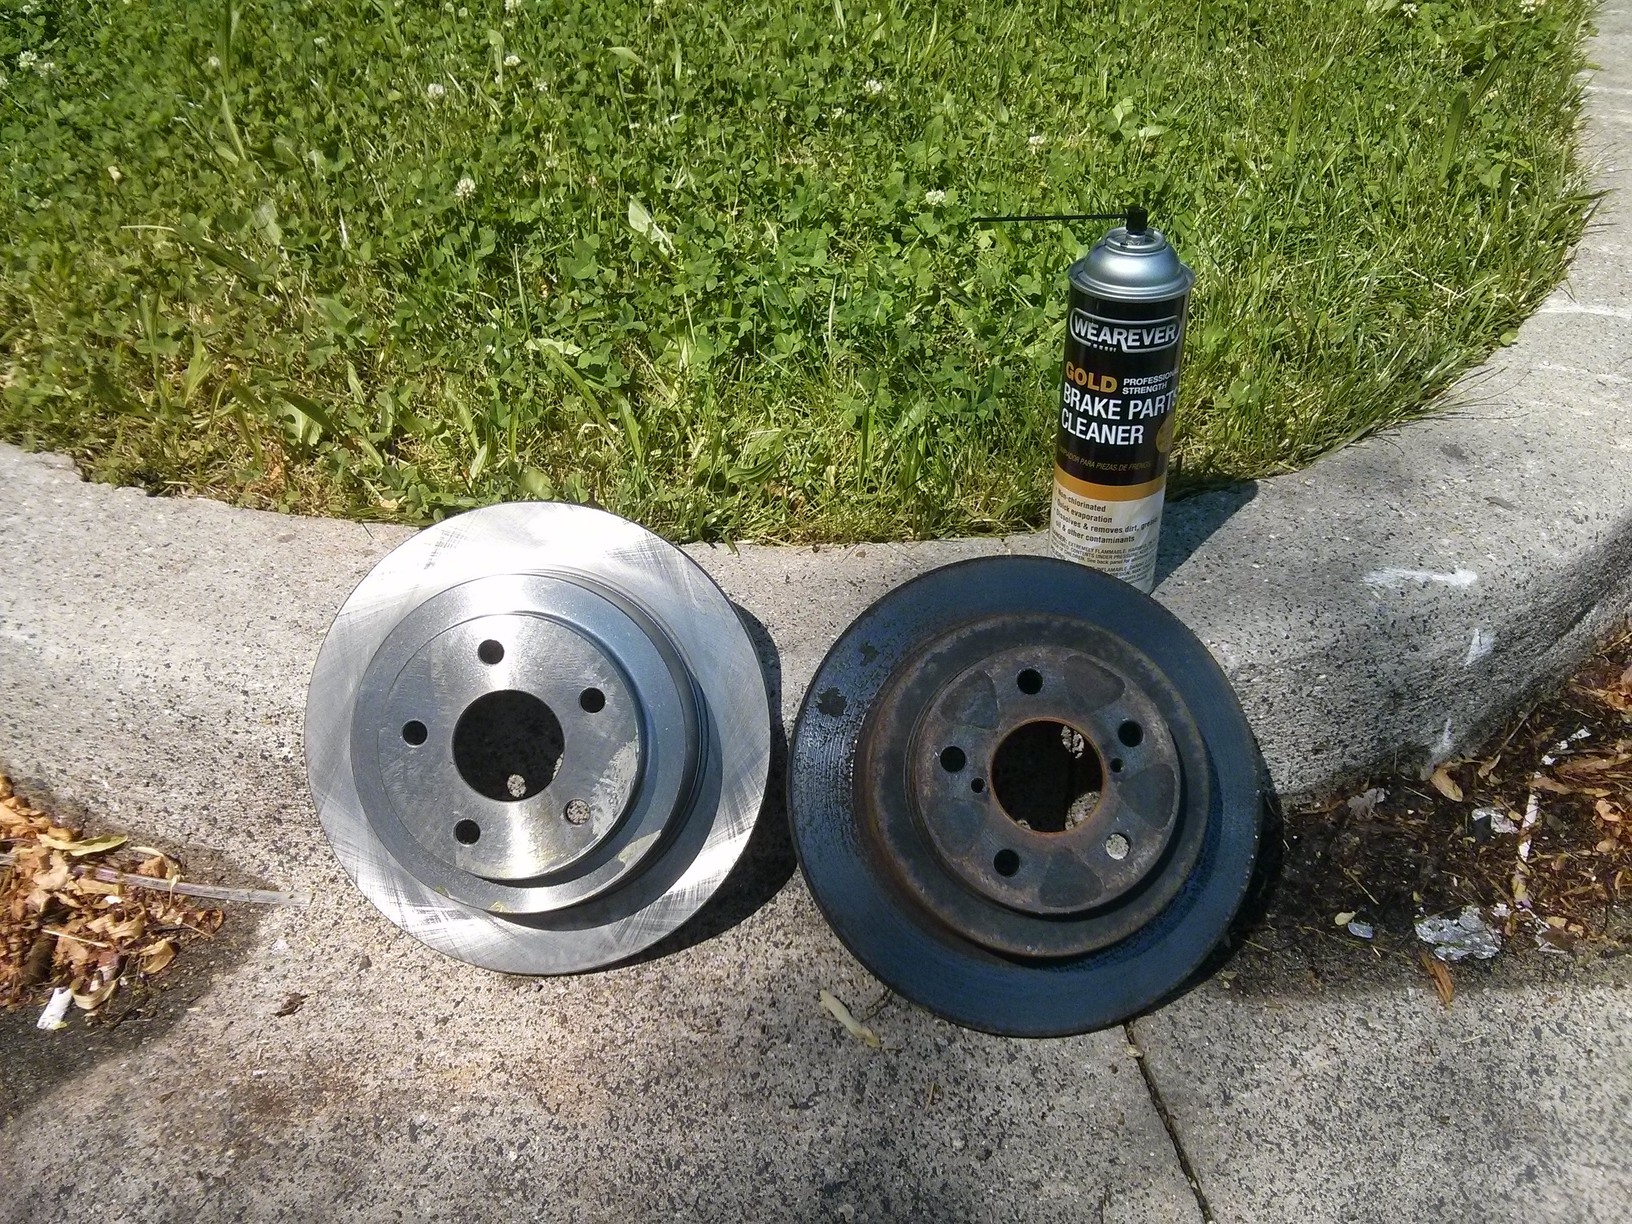
Sure enough, the rotor popped off and I then simply replaced it with the new Wearever rotor from Advanced Auto Parts, which I also cleaned with the brake cleaner spray that they sold me. I also didn't forget to undo the first rotor and clean it with the spray before putting it back on.
The car now brakes without any rumbling.
Bonus
Comparing the old and new rear rotors side by side it was clear as day that the rear needed replacement more than the front. The car first started rumbling after I left the car parked in humid Baltimore for one month with the parking brakes on. The already rusty rotors must have deteriorated further with humidity. The photos below are of the front and rear rotors respectively.